How to Photograph Your Home for a Listing: 12 Shots That Sell in Texas
To photograph your home for a listing with just a phone, you need 12 shots: one hero exterior, one twilight exterior, kitchen wide, kitchen detail, living room from the deepest corner, primary bedroom, primary bath, dining or eat-in area, secondary bedroom, backyard wide, a Texas-specific feature shot (pool, covered patio, or porch), and one neighborhood frame. Shoot the exterior at golden hour, interiors between 10 a.m. and 2 p.m. with every light on, and hold the phone at chest height — about 48 inches — so ceilings and floors stay balanced. Do that, and you’ve already beaten roughly 70% of FSBO listings in Austin, Houston, and Dallas.
The rest of this post is the playbook: what each shot looks like, the staging tweak that makes it work, and how to feed the results into HomeShow.ai’s photo-to-AI listing tool so the description writes itself.
Why phone photos are enough (if you do them right)
An iPhone 13 or newer, a Pixel 6+, or any Samsung Galaxy S21 and up shoots at roughly 12 megapixels with a wide enough lens (~24mm equivalent) to handle most rooms in a Texas tract home. The sensor isn’t the problem. The problem is almost always one of three things: shooting at the wrong time of day, holding the phone at eye level, or leaving clutter in frame that the eye edits out but the camera does not.
Buyers spend about 60% of their listing-view time on photos and only 20% on the written description, according to Zillow’s consumer housing data. That means the photo set is doing most of the persuasion work. A listing with a dark, tilted living-room shot from waist-up gets scrolled past in under two seconds.
Gear and settings before you start
- Clean the lens. Microfiber, not your shirt. Pocket lint causes the hazy halo around windows you see in bad listings.
- Grid on. Settings → Camera → Grid (iOS) or the gear icon in the Google/Samsung camera app. Use the lines to keep verticals straight.
- HDR auto. Helps when you have a bright window and a darker interior in the same frame, which is every Texas living room with west-facing glass.
- 0.5x lens, sparingly. The ultra-wide makes small rooms look bigger but distorts edges. Use it only for tight bathrooms and walk-in closets.
- Landscape orientation. Always. MLS thumbnails and HomeShow.ai’s gallery crop to 4:3 horizontal.
- A small tripod helps. A $20 Joby GorillaPod keeps shots level and lets you use a 2-second timer to avoid blur.
One more thing before you start: walk the whole house with a laundry basket. Anything that isn’t a deliberate staging choice — remote controls, dog bowls, the Brita pitcher, a roll of paper towels — goes in the basket. The basket goes in the trunk of your car. Not the closet, because you’re shooting closets too.
The 12-shot list
1. Hero exterior (front of house)
Shoot at golden hour — roughly 30 minutes before sunset in Texas, which means around 7:45 p.m. in June and 5:30 p.m. in December. Stand at the far corner of the front yard, not on the sidewalk straight on. A three-quarter angle shows depth. Garage door closed. Cars moved off the driveway and out of frame. Hose coiled or hidden. If you have a yard sign or political flag, take it down for the shoot.
2. Twilight exterior
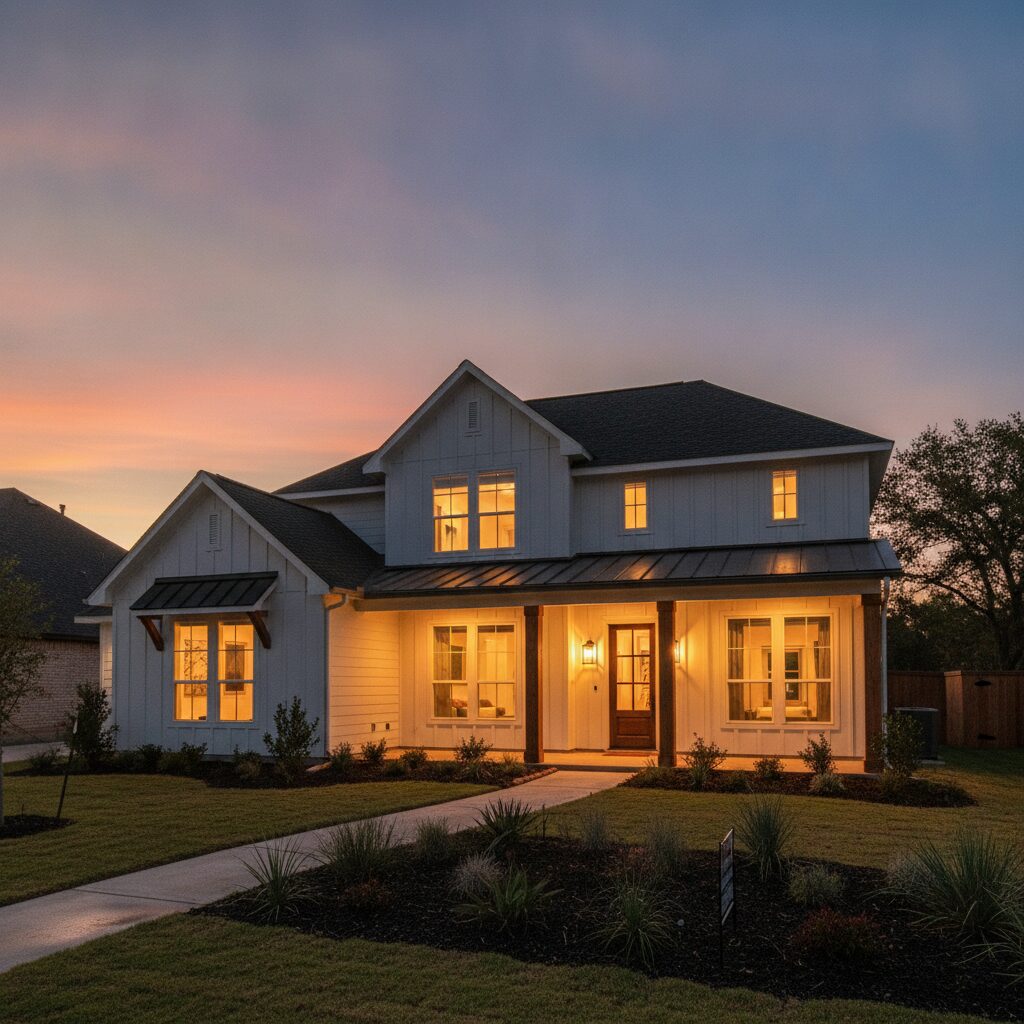
The “dusk shot” is the single highest-performing image in residential listings. Wait until 15 minutes after sunset when the sky still has color but is darker than your interior lights. Turn on every interior light, the porch light, and any landscape lighting. Shoot from the same three-quarter angle as the hero. This one photo is worth two open houses in click-through rate.
3. Kitchen wide
Shoot from the doorway or the corner opposite the range. Phone at countertop height — about 36 inches — not chest height, because kitchens read better slightly lower. Clear every countertop except one styled vignette: a wooden cutting board, a bowl of lemons or limes, a folded dish towel. Remove the dish rack, the soap bottle, magnets from the fridge, and anything attached to the range hood.
4. Kitchen detail
One tight shot that sells the upgrade. If you have quartz counters, shoot a 45-degree angle showing the edge profile and backsplash. If you have a gas range, shoot the burners with a copper pan staged on them. This is the image that anchors the “updated kitchen” claim in your description.
5. Living room from the deepest corner
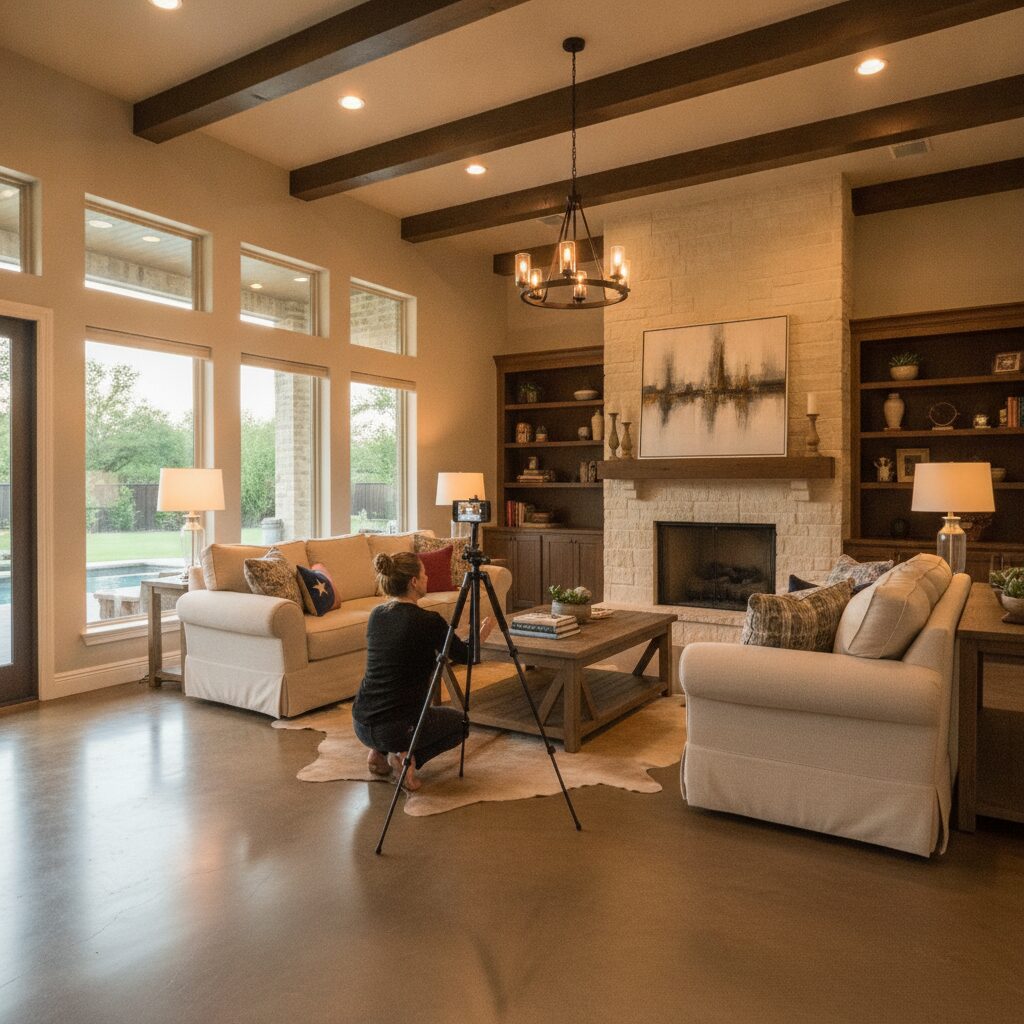
Back yourself into the corner farthest from the main feature (fireplace, TV wall, or window). Phone at chest height, level. Get the ceiling line and floor line both in frame — that’s what makes the room read as spacious. Open all blinds. If west light is blowing out your windows, shoot earlier in the day or wait for an overcast afternoon, which Houston and Dallas get more of than people think.
6. Primary bedroom
Make the bed like a hotel: white or neutral duvet, three pillows minimum, no personal photos on the nightstand. Shoot from the corner that includes the bed and one window. Avoid shooting straight at the bed from the foot — it flattens the room. If you have a ceiling fan, turn it off so the blades render sharp.
7. Primary bath
Toilet seat down. Lid down. No exceptions. Remove the bath mat unless it’s brand new and white. Hide the trash can. Roll a fresh towel on the counter and add a small plant or a candle. Shoot from the doorway with the 0.5x ultra-wide lens — bathrooms are the one room where the distortion helps more than it hurts.
8. Dining or eat-in area
Set the table for four. Plain white plates, simple glassware, a low centerpiece (not flowers that block sightlines across the table). Shoot from the corner so you get the table, the light fixture above it, and the connection to the next room. Buyers want to see how rooms flow, especially in open-concept Texas builds from the last 15 years.
9. Secondary bedroom
One is enough if all your secondary bedrooms are similar. Pick the largest. Style it as a guest room or a kid’s room, not a junk room or home gym. If it’s a home office, that’s fine post-2020 — but make sure the desk is clear and there’s a styled bookshelf or a plant in frame.
10. Backyard wide
Shoot from the back door looking out, then shoot a second frame from the back fence looking toward the house. The second angle shows yard size, which matters more in Pflugerville or Cedar Park than in central Austin. Mow the lawn the day before. Coil the hose. Move the trash bins to the side yard.
11. The Texas feature shot
Every listing needs one shot that says “this is a Texas home.” Options, in rough order of selling power:
- Pool with clean water and no floats in frame, shot at golden hour
- Covered back patio with a ceiling fan running (motion blur is fine, it reads as breeze)
- Front porch with two chairs and a side table, shot from the yard
- Outdoor kitchen or built-in grill
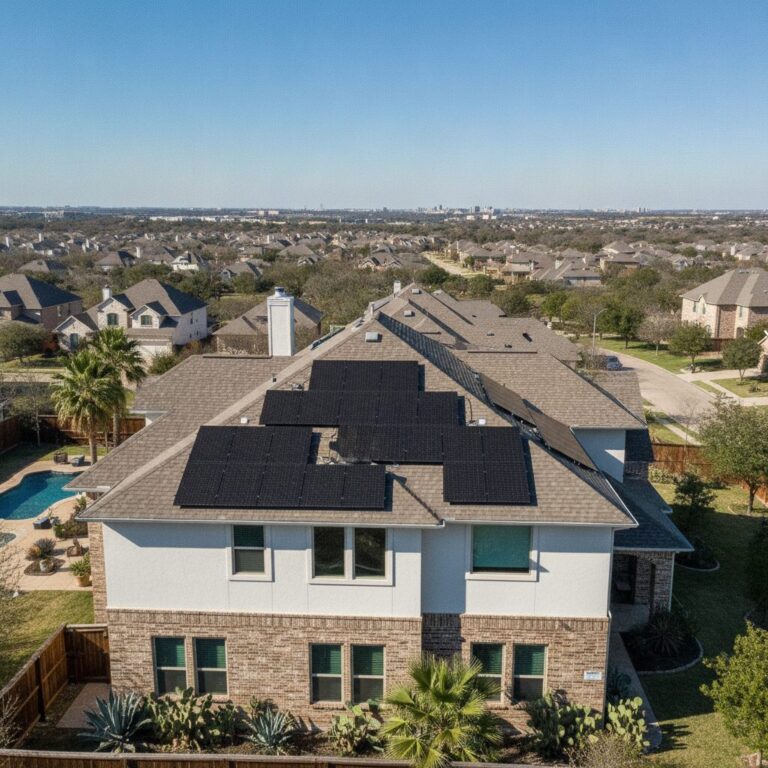
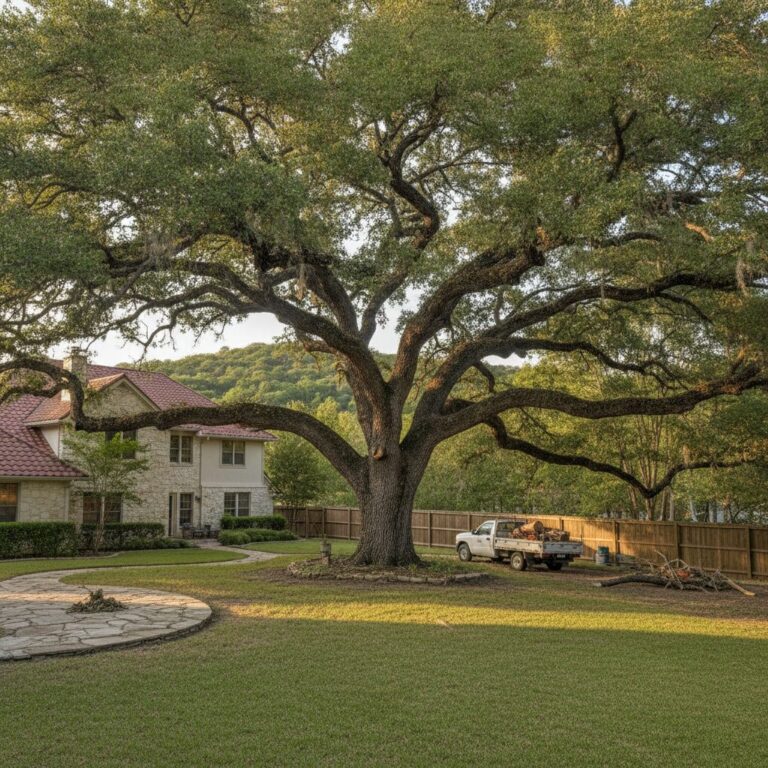
- Mature shade tree framing the house, especially live oaks or pecans
If you have none of these, shoot the garage interior clean — Texas buyers care about garage space and storage more than buyers in most other states.
12. Neighborhood or context frame
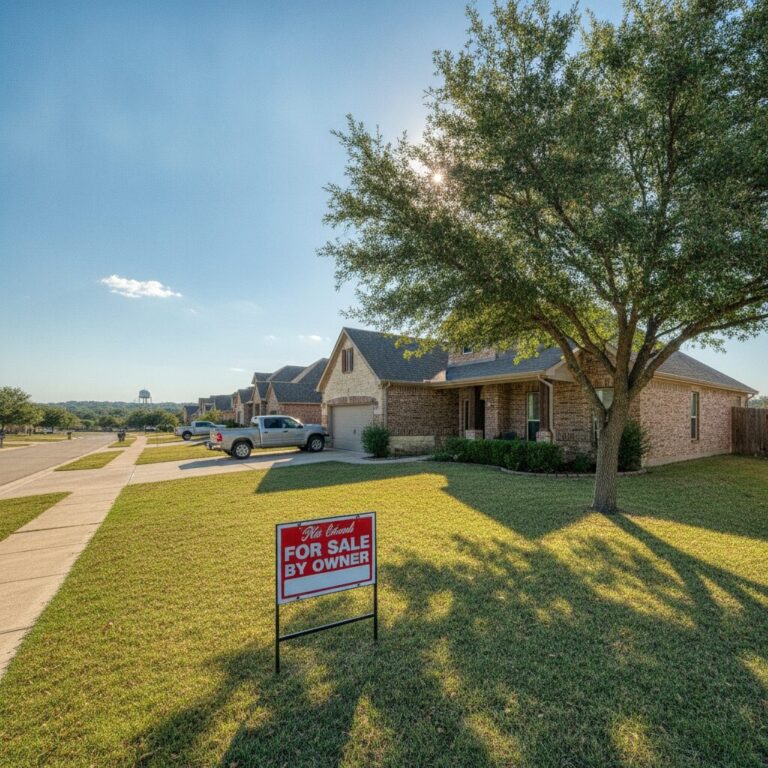
One shot that places the house in its neighborhood: the tree-lined street, the nearby park, the cul-de-sac, the view of the greenbelt. This is the photo that answers “what’s it like to live here?” without a single word. Shoot it in the morning when the light is softer and there are fewer cars.
Time-of-day cheat sheet for Texas light
| Shot | Best time | Why |
|---|---|---|
| Hero exterior | 30 min before sunset | Warm side light, no harsh shadows on facade |
| Twilight exterior | 15 min after sunset | Sky color balances interior lamps |
| East-facing rooms | 10 a.m.–noon | Indirect light, no blown-out windows |
| West-facing rooms | 9–11 a.m. | Avoids hard afternoon sun through windows |
| Backyard | Golden hour or overcast | Midday Texas sun crushes grass color |
| Pool | Within 1 hour of sunset | Water reads blue, not gray |
Editing: do less than you think
Use the built-in Photos app or Snapseed. Three adjustments only:
- Exposure up slightly if the room looks dim, but never push windows to pure white.
- Shadows up to recover dark corners.
- Straighten using the crop tool’s auto-level. Crooked verticals are the #1 tell of an amateur listing.
Do not use filters. Do not boost saturation. Do not replace the sky unless your MLS explicitly allows it, and Texas MLSs are increasingly strict about altered images after a 2023 NAR advisory on photo manipulation.
From photos to a finished listing
Once you have the 12 shots, HomeShow.ai’s photo-to-AI listing tool reads them, identifies features (granite counters, stainless appliances, hardwood floors, ceiling fans, fenced yard), and drafts a listing description you can edit in about 90 seconds. The tool was originally built for casual sellers offloading furniture and cars, but the same vision model handles real estate, and it pulls comparable language from active Austin and Houston listings to keep your description in the right register — not too breathless, not too sparse.
One workflow tip: upload the hero exterior first. The AI uses it as the anchor image and writes the opening line around the architectural style it detects. If you upload the kitchen first, the description tends to lead with finishes instead of curb appeal, which buyers respond to less.
Common mistakes that kill click-through
- Mirrors in frame. Bathrooms and bedrooms — you’ll appear in the shot. Step out of the reflection or shoot from a higher angle.
- Pets in photos. A sleeping dog seems charming. It signals “pet smells” to half of buyers.
- Personal photos on walls. Take them down. Empty frames are worse — patch the nails and touch up paint.
- One photo per room of a 4-bedroom house. Buyers count rooms. Show every bedroom and bathroom, even if briefly.
- Vertical phone shots. They crop badly on every real estate platform that exists.
- Shooting in stages over multiple days. Light changes, weather changes, the lawn grows. Block one Saturday and do it all.
A realistic timeline
For a 3-bedroom, 2-bath home around 2,000 square feet, plan on roughly six hours total: two hours of staging and decluttering the night before, three hours of shooting across a single day (morning interior, late-afternoon exterior, twilight), and one hour of editing and uploading. That’s the cost of getting your listing’s photos into the top quartile of what’s on the market.
Six hours of work, twelve shots, and the right time of day. That’s the whole game for FSBO sellers willing to skip the $400–$800 a professional real estate photographer charges in Austin and put the savings toward closing costs instead.